Understanding the Label Studio JSON format
Introduction
Alright, folks! Strap on your seatbelts and prepare your keyboards for launch — we’re about to dive into a tutorial into the heart of the Label Studio JSON format. But no stunts or safety goggles are needed — this is an approachable and accessible introduction.
Let’s begin.
What is JSON?
JSON, or JavaScript Object Notation, is a data format that supports the storage and organization of information in a manner that ensures easy accessibility. Its role is similar to an exceptionally organized librarian who effortlessly retrieves any book from an enormous archive. When it comes to machine learning and data science — this is one of the more popular file types you’ll encounter due to its simple structure and broad compatibility.
Curious to learn more about the basics of JSON and get started? Check out Mozilla’s guide to JSON.
How do Label Studio and JSON fit together?
When you move annotations (with all the other juicy metadata it comes with) from one place to another, the JSON file format tends to be widely accepted. While there are many different formats for storing and sharing data — comma-separated values (CSVs) being a popular one — JSON allows for the easy export and import of data with additional context and metadata. Add this to its ability to be easily read and understood by both Javascript and Python, and it becomes a natural fit for data scientists and ML professionals.
JSON's lightweight format makes it easy to quickly create structured data objects to share across applications, but there is a large ecosystem around it (including schema libraries to introduce more structure and type-checking for specific applications) that has given it the flexibility to be adopted across a wide variety of use-cases. It has enough structure to make it easy to parse and understand, but it also leaves enough flexibility to be adapted across various use cases.
When might you need to use the Label Studio JSON format?
The Label Studio JSON format is essential for importing data, pre-annotations, and working with the Label Studio ML backend. Label Studio can import a variety of different data formats, including plain text and CSV files, but for exporting annotation records or for automating your labeling workflow, JSON is the preferred format for communicating annotation tasks with Label Studio.
Importing Data
When you want to import multiple types of data to label simultaneously, such as images with captions or audio recordings with transcripts, you must use the basic Label Studio JSON format.
Time Series Data
If you want to import time series data directly into Label Studio, you can create and import a JSON file structured with keys specifying the time and channels using the Label Studio JSON format.
Exporting Annotations
After annotators have labeled the tasks, Label Studio represents each completed annotation with a JSON structure. This is the native output format for Label Studio.
Using the Label Studio JSON format allows you to work with the platform's native data structure, ensuring compatibility and smooth data handling during the import and export processes.
Breaking down the Label Studio JSON Format
The JSON format consists of three main parts;
- Data (task data)
- Annotations
- Predictions.
These three types of data are broken into smaller chunks known as objects.
Before we dive into the specifics of how these objects come together to make tasks, annotations, and predictions — let’s break down exactly what different elements we’ll encounter in the first place.
`id`
This is the unique identifier for your data object. It's like the student ID number you had in school, except you won't forget this one when you're asked for it in the cafeteria line. Every data object has one, and it can be used to reference it in the future.
`data`
This is where your data goes, like the text, image, or whatever you're labeling. In this case, we have a simple text string, "Hello, world!" It's like the bread in your sandwich.
'annotations'
This is where all the juicy labeling details are stored. It's the meat and cheese of your sandwich. It can contain multiple annotation objects, but doesn’t have to, hence the array (list) notation [].
'from_name', 'to_name', 'type'
This part of the data is the hall monitor of the JSON file. The ‘from_name’, ‘to_name’, and ‘type’ help guide the label and let us know where it's coming from, where it's going, and what it's meant to do.
'value'
This is where the details of the actual label live, including where the label starts and ends, what the labeled text is, and what labels have been applied. It's like the detailed report card of the label.
Task Data:
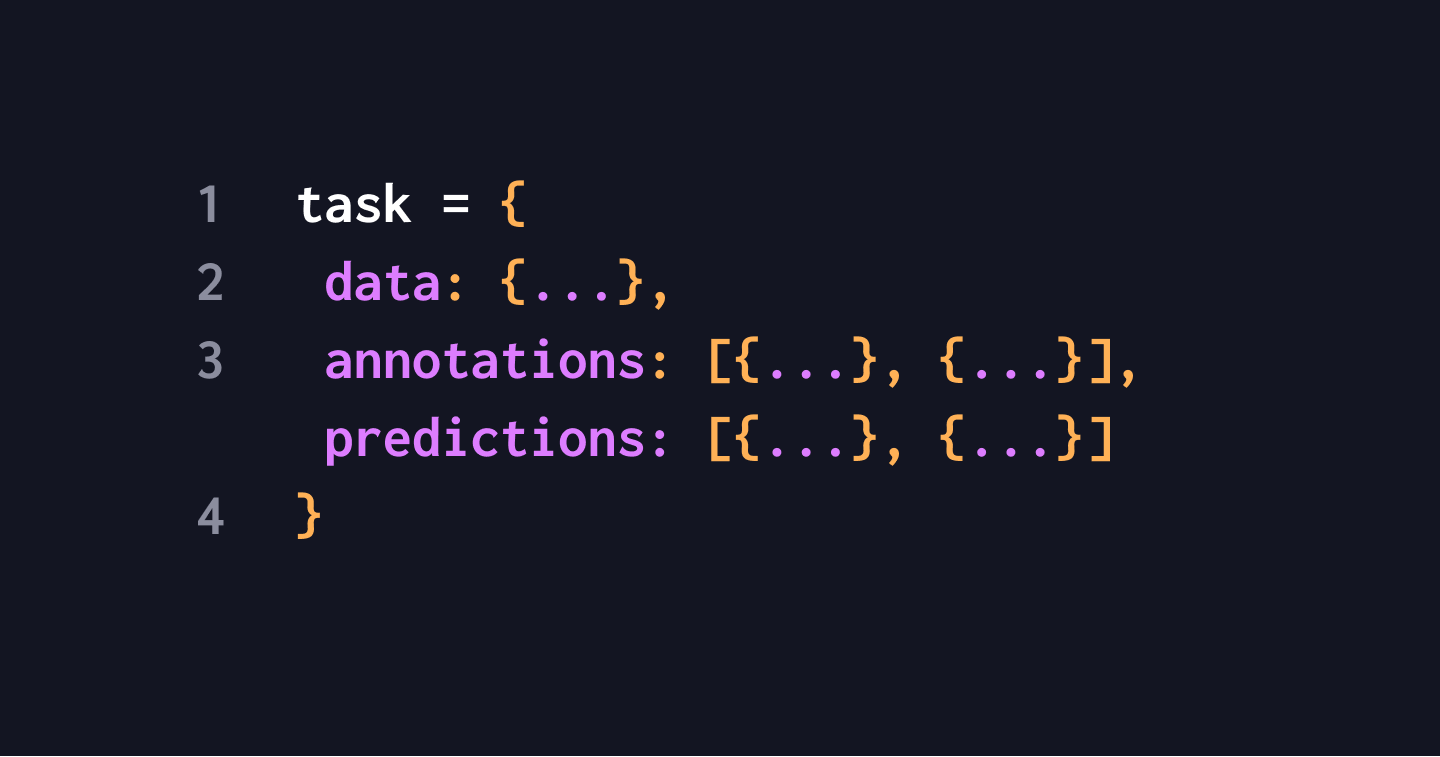
At its core, task data is broken down into the following format. Typically, a task corresponds to one data item and represents not just the data itself but all of its annotations and predictions.
task = {
  data: {...},
  annotations: [{...}, {...}],
  predictions: [{...}, {...}]
}This task data will typically contain a few more fields like created_at or project, but for simplicity's sake, we’ll start here. Task data can make up a larger dataset, which can have a more complex structure when working with multiple images and labels such as…
{
  images: [{name: "xxx", url: "gcs://1/1.jpg"}, {...}, ...],
  texts: ["123", "456", "789"],
  number: 42
}Or something quite simple, as in this example from one individual task…
{
 image: "gcs://1/1.jpg",
 text: "123"
}How the labeling configuration can impact task data.
If you’ve worked with Label Studio previously, you may notice how you can completely customize the interface or configuration of Label Studio. This is quite handy when it comes to providing further instructions or context to your annotation team.
Customize your labeling interface within Label Studio's Interface editor.
However, customizations in the Label Studio interface and labeling template impact your task data's end result.
The Label Studio interface is customizable using XML, however, this code can impact the end JSON result.
If your labeling configuration identifies a specific value, say, ‘image value,’ you must add that value to your task data.
Example 1:
Adding an image value to the configuration:
<image name="image" value="$imagefilename"/>Will require us to call this value in the task data as well.
‘data’:
{
 image: “https://example.com/1.jpg”
}Understanding what values you add and how they impact the export can make it easier for you to follow your work — especially when working with a larger team.
JSON In Action
Let’s look at a few examples of the JSON type in practice.
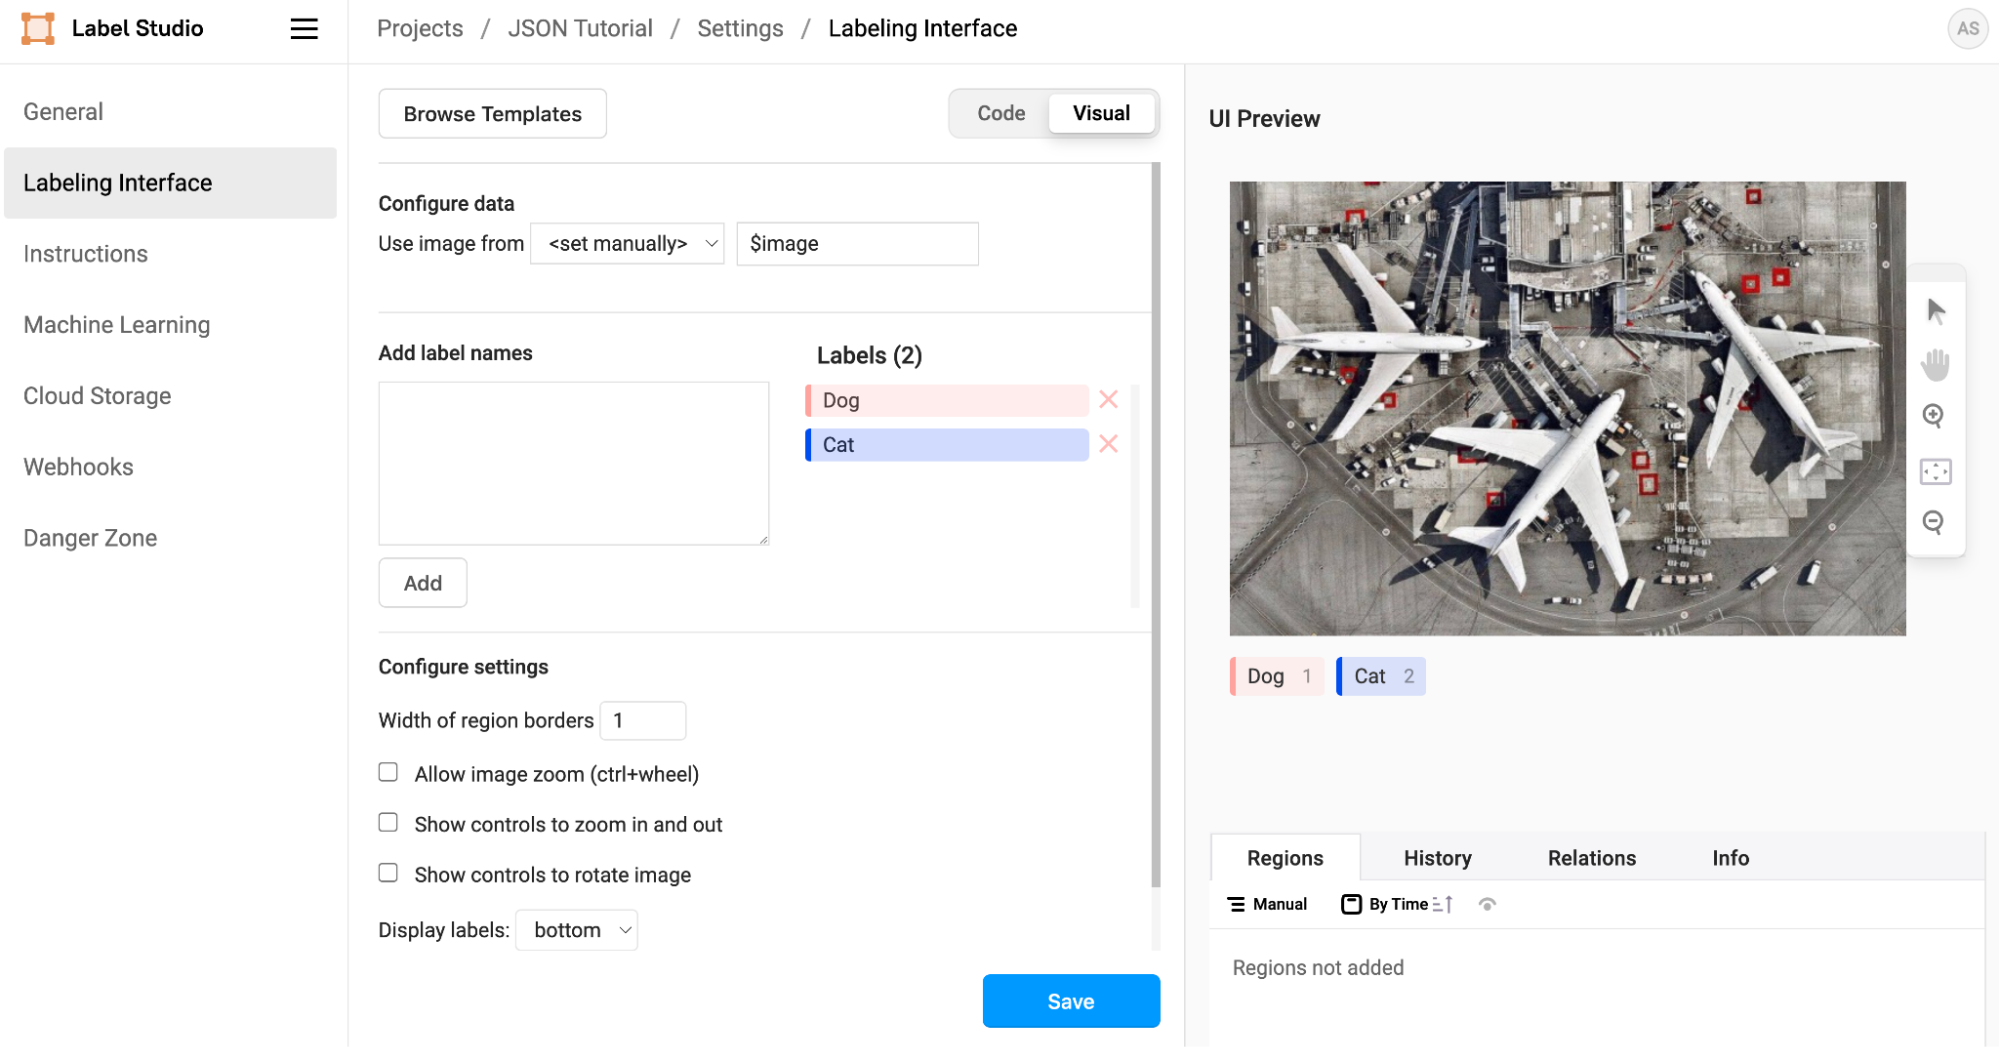
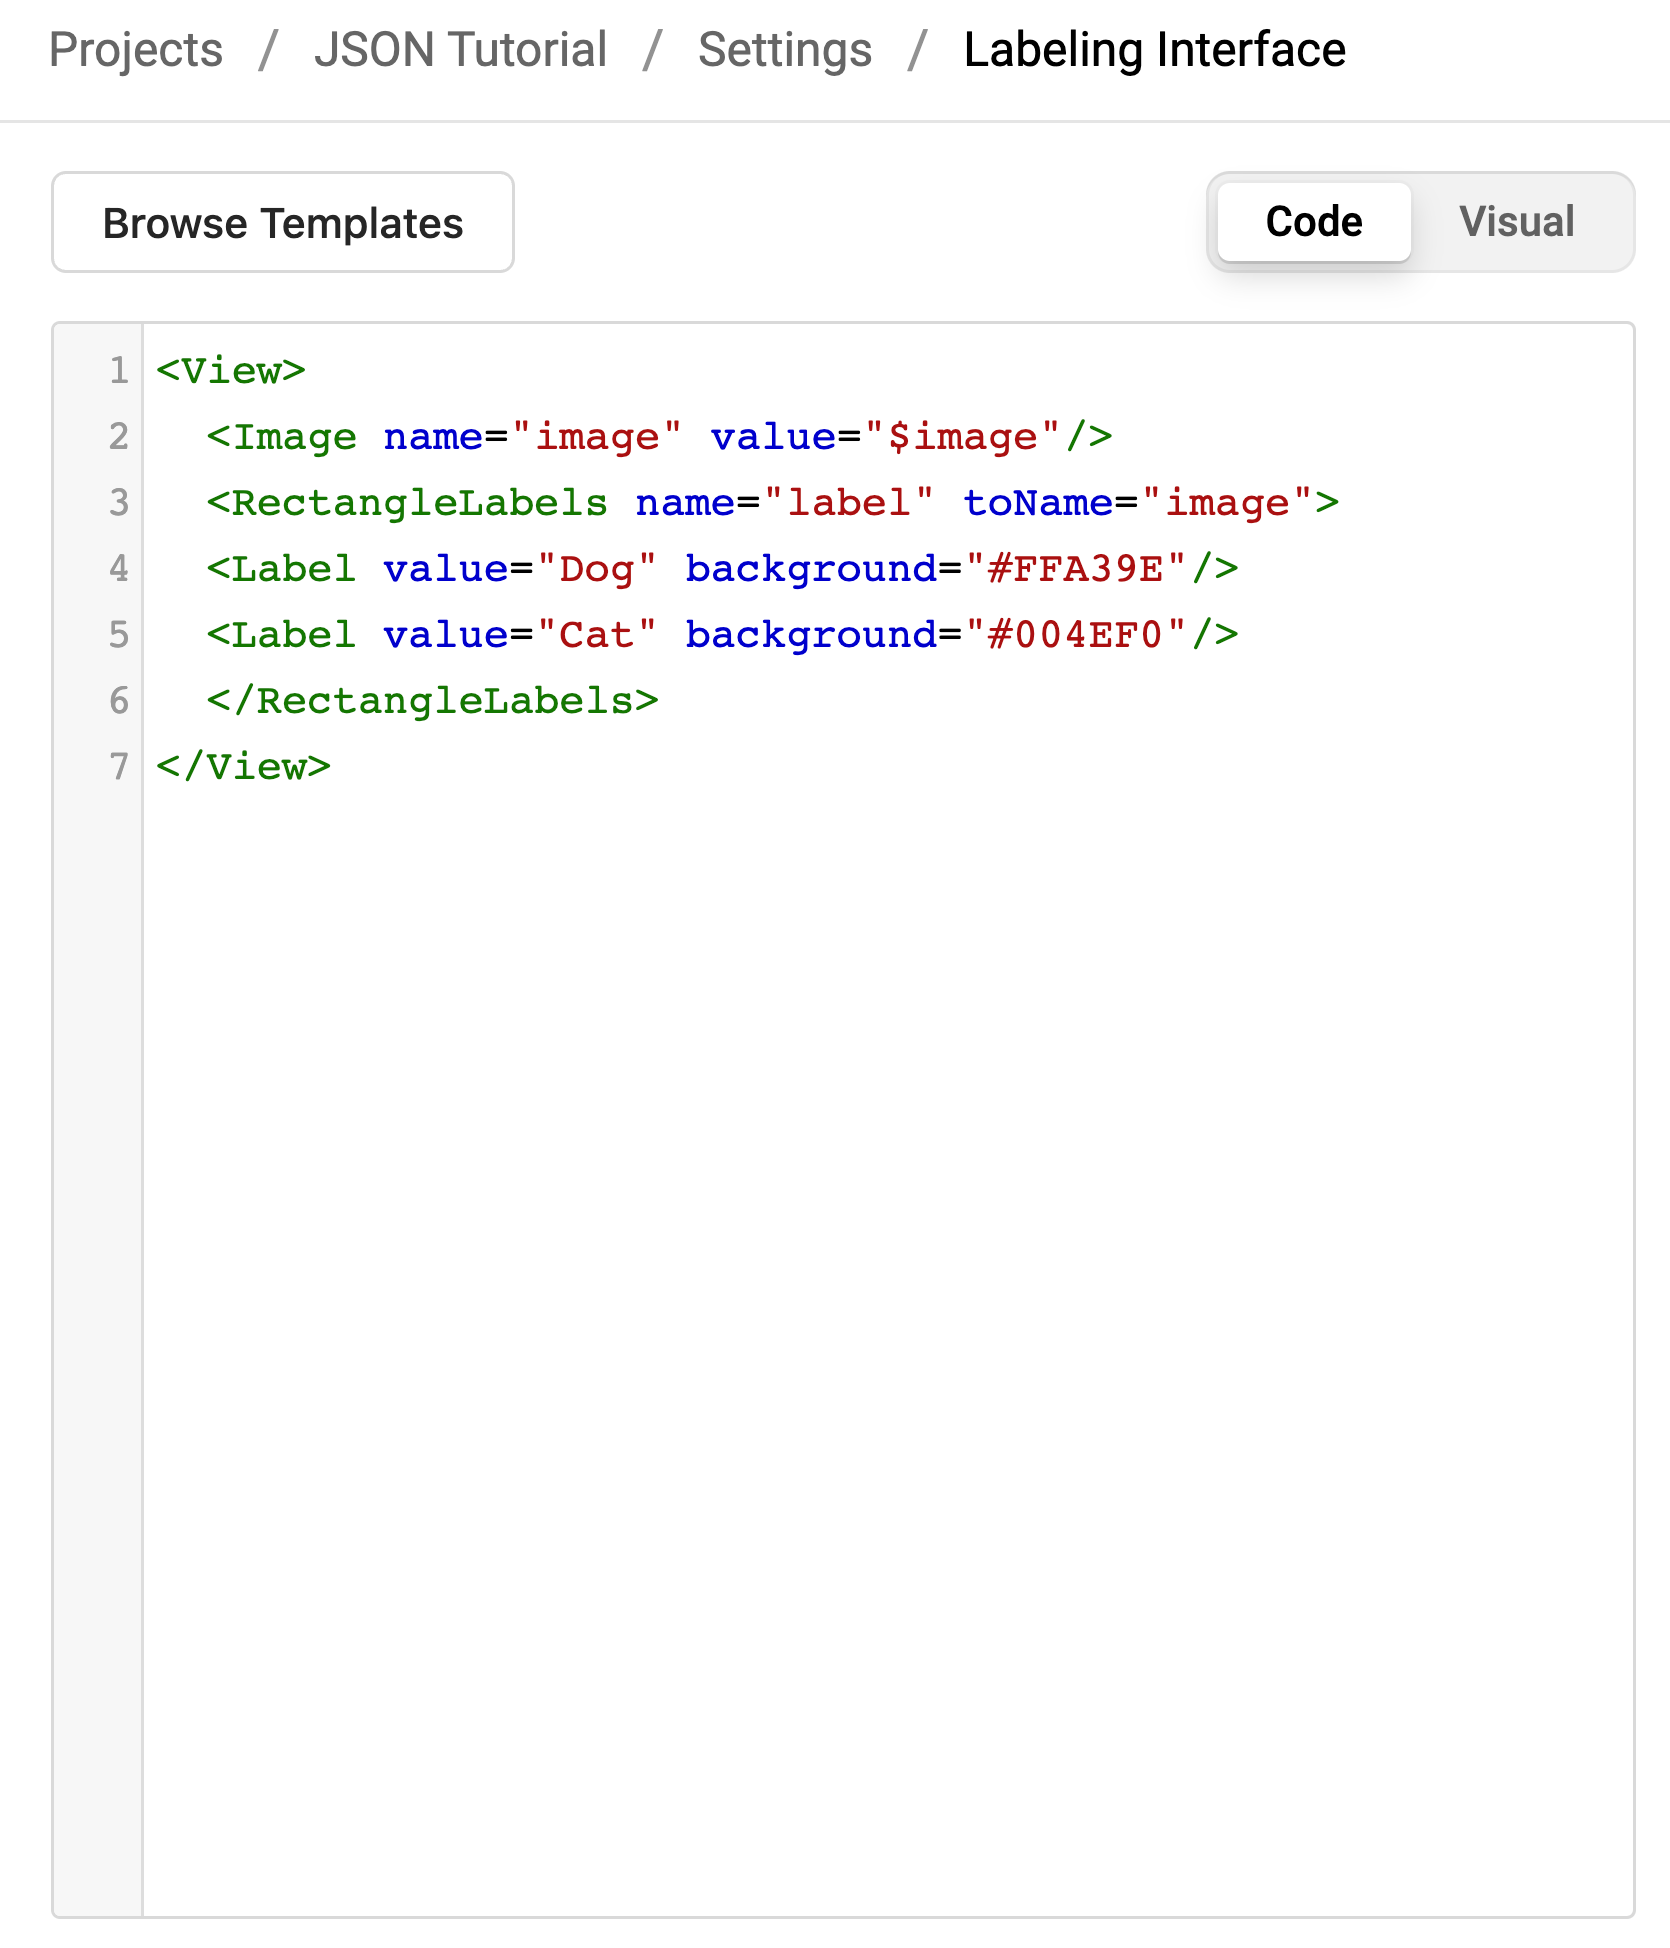
Image Classification Task, with two labels “Dog” and “Cat”
It would look something like this in Label Studio...
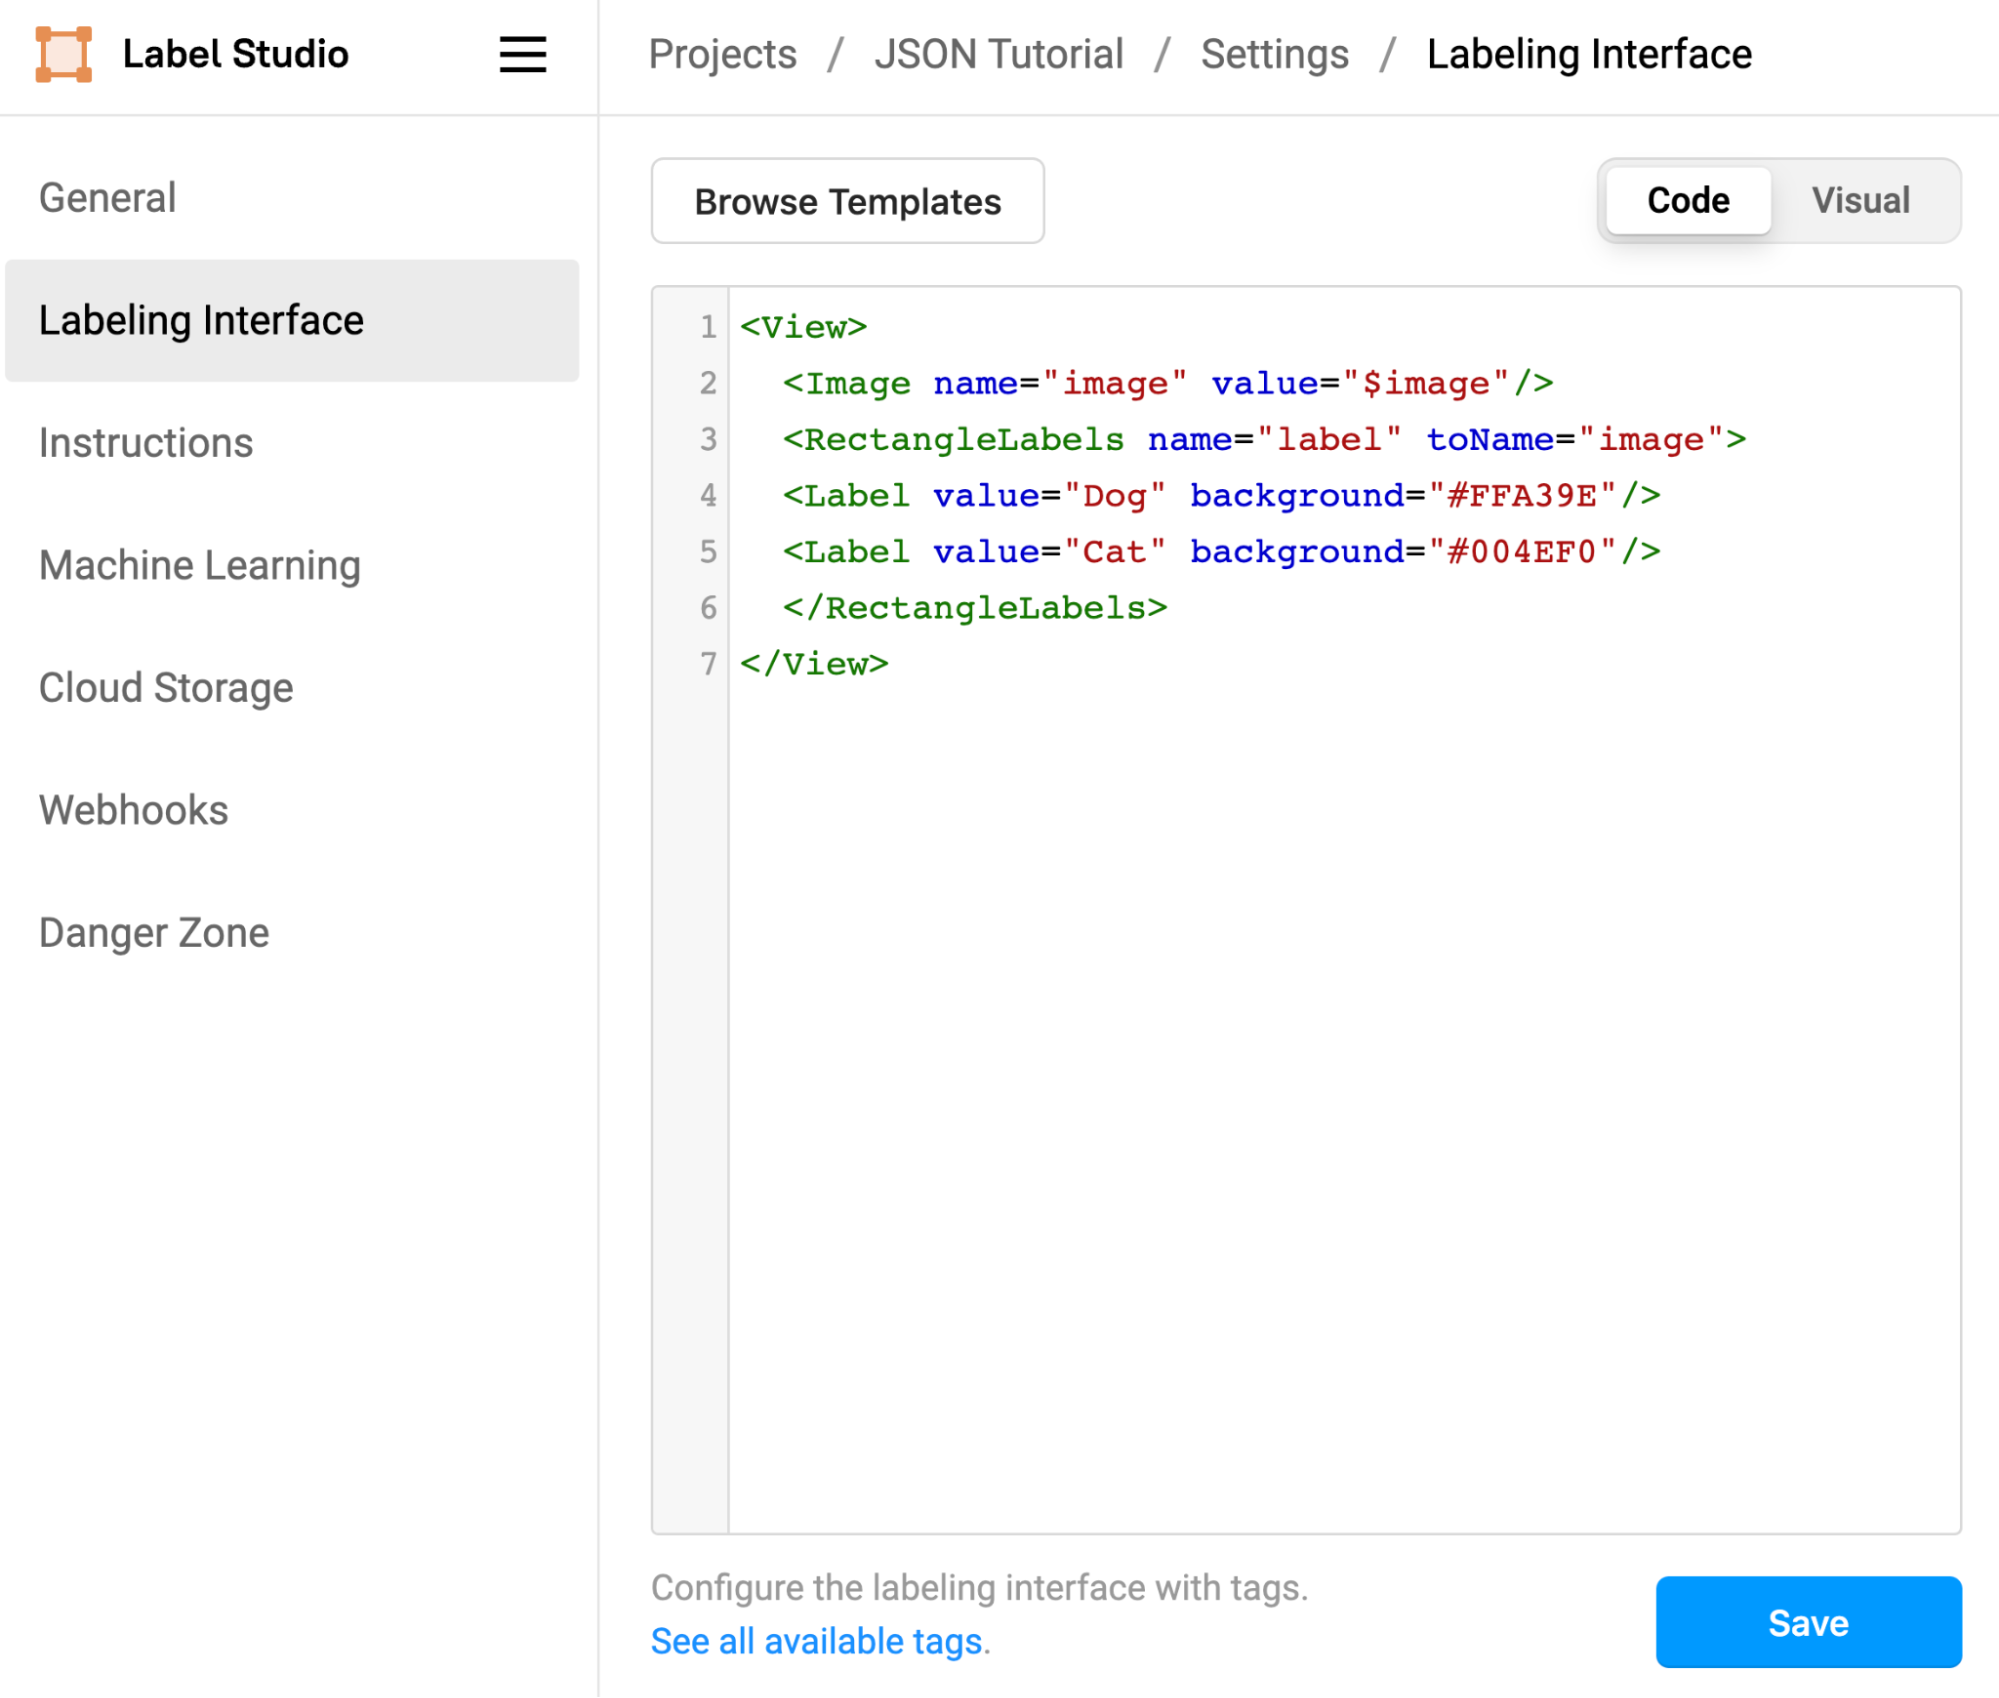
Screenshot of XML in the Label Studio Labeling Interface
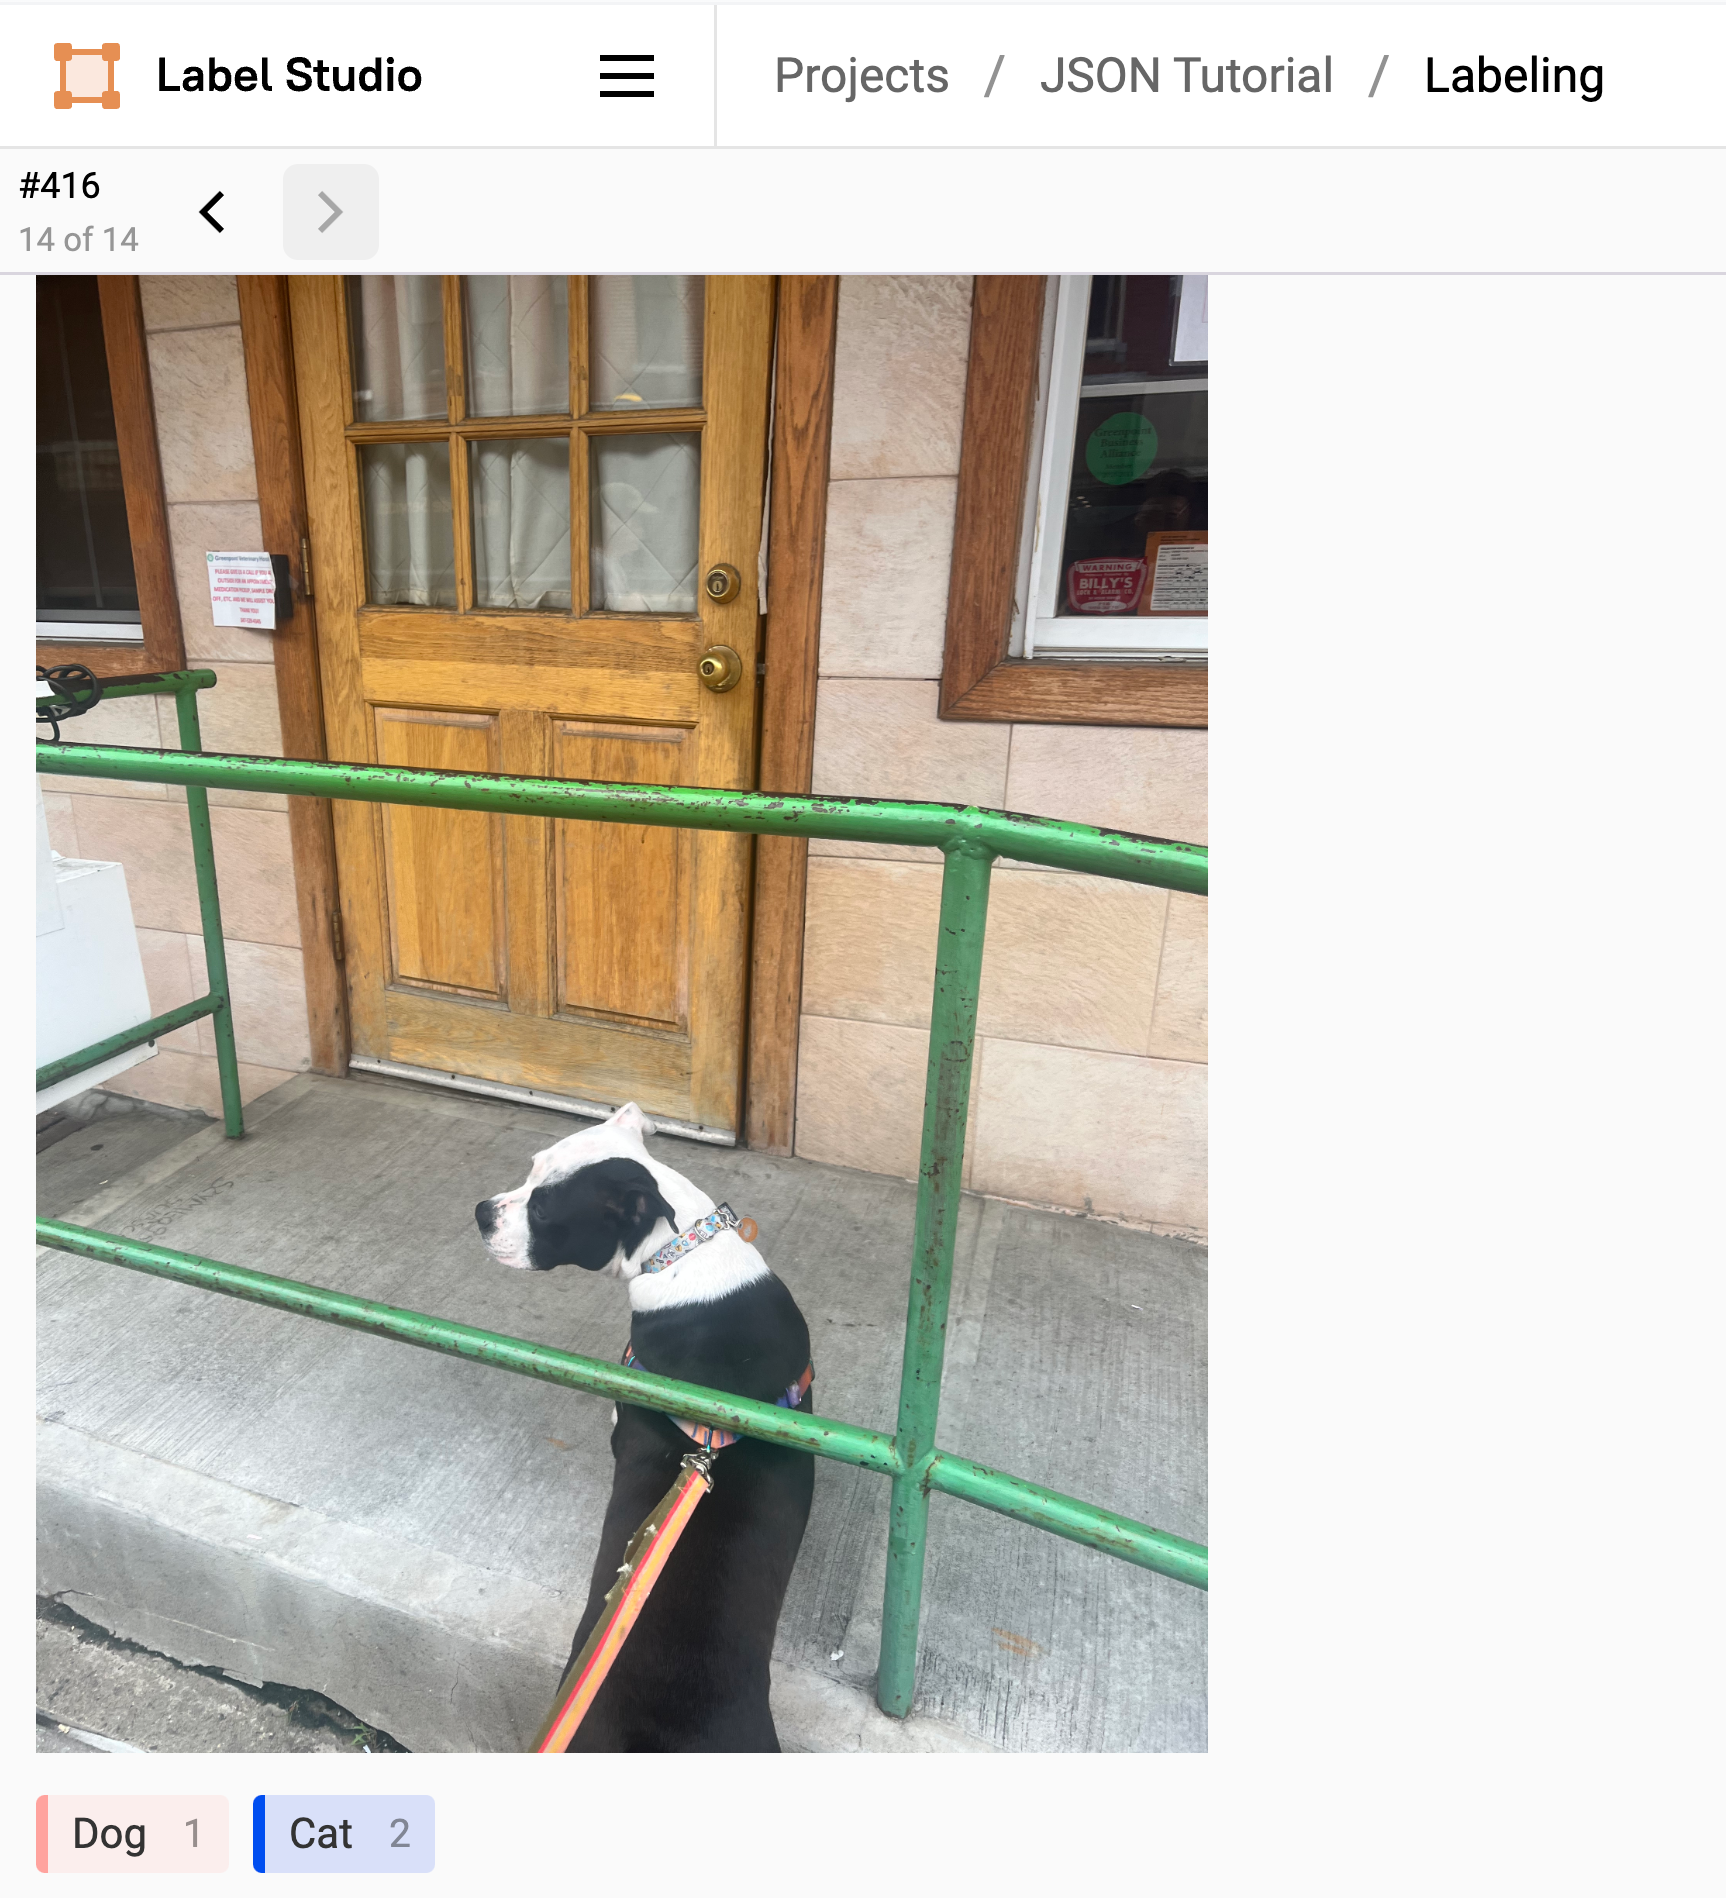
Image of the labeling interface with the options "Dog" and "Cat."
Whereas your JSON export would look something like the below...
{
    "id": 1,
    "data": {
        "image_value": "https://example.com/dog_or_cat.jpg"
    },
    "annotations": [
        {
            "result": [
                {
                    "value": {
                        "choices": ["Dog"]
                    },
                    "from_name": "class",
                    "to_name": "image",
                    "type": "choices"
                }
            ]
        }
    ]
}Text Classification task with three labels; “Positive,” “Negative,” and “Neutral”
{
    "id": 2,
    "data": {
        "text": "I absolutely love Label Studio!"
    },
    "annotations": [
        {
            "result": [
                {
                    "value": {
                        "choices": ["Positive"]
                    },
                    "from_name": "sentiment",
                    "to_name": "text",
                    "type": "choices"
                }
            ]
        }
    ]
} In both examples, from_name represents the label to_name represents the data source, and type describes the kind of annotation performed.
The choices inside the value represent the chosen label for the particular data.
Loading Labeled Data to explore in a Python Notebook
When validating a dataset or building a new model for the first time — opening up the data inside of a Python notebook can be a good way to conduct quality assurance (QA), further analyze and inspect labeled data, continue work on model development, or document your steps for later reproducibility.
Running the snippet below will allow you to open the JSON file and start making explorations. This uses the prettyprint library, which gives you further detail and context behind your JSON file. For data analysis, working with a library such as Pandas or MatPlotLib can further assist you in research and studies.
import json
import pprint


with open('your_labelstudio_file.jso') as file:
    data = json.load(file)

pprint.pprint(data)Loading Tasks in Label Studio
You can also load a JSON file into Label Studio as tasks to be labeled. If working from a preexisting large dataset or JSON file, it might save you some time to load it into Label Studio via JSON.
Below are two examples of how the JSON file is structured to load the task into Label Studio.
[
    {
        "id": 1,
        "data": {
            "image": "https://example.com/dog_or_cat.jpg"
        }
    },
]
[
    {
        "id": 2,
        "data": {
            "text": "I absolutely love Label Studio!"
        }
    }
]Once the JSON file is prepare you can add it into Label Studio by completing the following instructions.
- Navigate to the Label Studio UI in your web browser.
- Go to the project where you want to import your tasks.
- Click on the "Import" button.
- Select “Upload Files” and upload your JSON File
Troubleshooting + Common Errors with the JSON format
Common errors with the Label Studio JSON format include forgetting to include the result when preparing data for predictions or forgetting to identify the data type correctly (“image” or “text”) when uploading a task into Label Studio.
When preparing your file, especially if you’re doing a large batch, uploading a smaller batch to test it before uploading all of your data can be helpful.
Takeaways
Now that you’ve got the rules of the road, you’re now able to use Label Studio more efficiently and effectively. Like a well-planned itinerary, the Label Studio JSON format provides us with the structure and context behind our annotations efforts of a multitude of data types—text, images, audio, and video—in a coherent and standardized manner. This is crucial for ensuring consistency in our data labeling efforts and ultimately enhancing the performance of our machine learning models. Moreover, it empowers us to communicate effectively with other tools and applications in the machine learning ecosystem. Happy Labeling!
Related Content
-
Using the Segment Anything Model Integration
Segment Anything is a popular model you can use to accelerate computer vision & image labeling. Learn how to use the Segment Anything integration with Label Studio.

Erin Mikail Staples
May 25, 2023
-

Integrating with Machine Learning Frameworks with Label Studio
This webinar tutorial, led by Heartex's co-Founder and Chief Technology Officer Nikolai Luibimov, will tackle the much-requested topic of Machine Learning (ML) integrations with Label Studio.