Label Studio Documentation
Discover our Quick Start installation guide, instructions on building custom UIs, pre-built labeling templates to get you labeling more quickly, and much more.
Quick Start Guide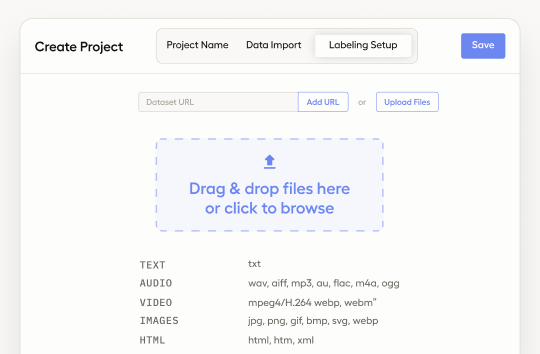
Label Studio 101
Brand new to Label Studio? We've created a jam-packed new tutorial with the most important information to get you up and running.
Get started
Machine Learning with Label Studio
Learn the background knowledge and steps required to integrate Machine Learning models into your Label Studio workflow.
Learn more

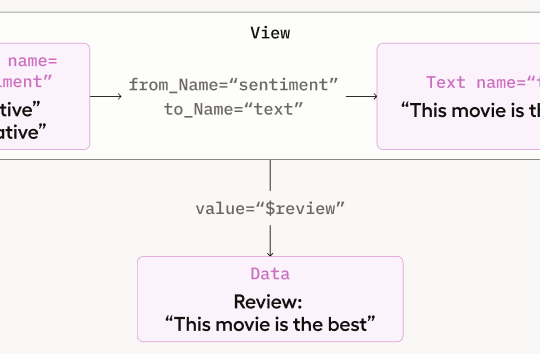
Use templates
Label Studio provides multiple out-of-the-box labeling configurations to help get you started.
Explore templates