Chat
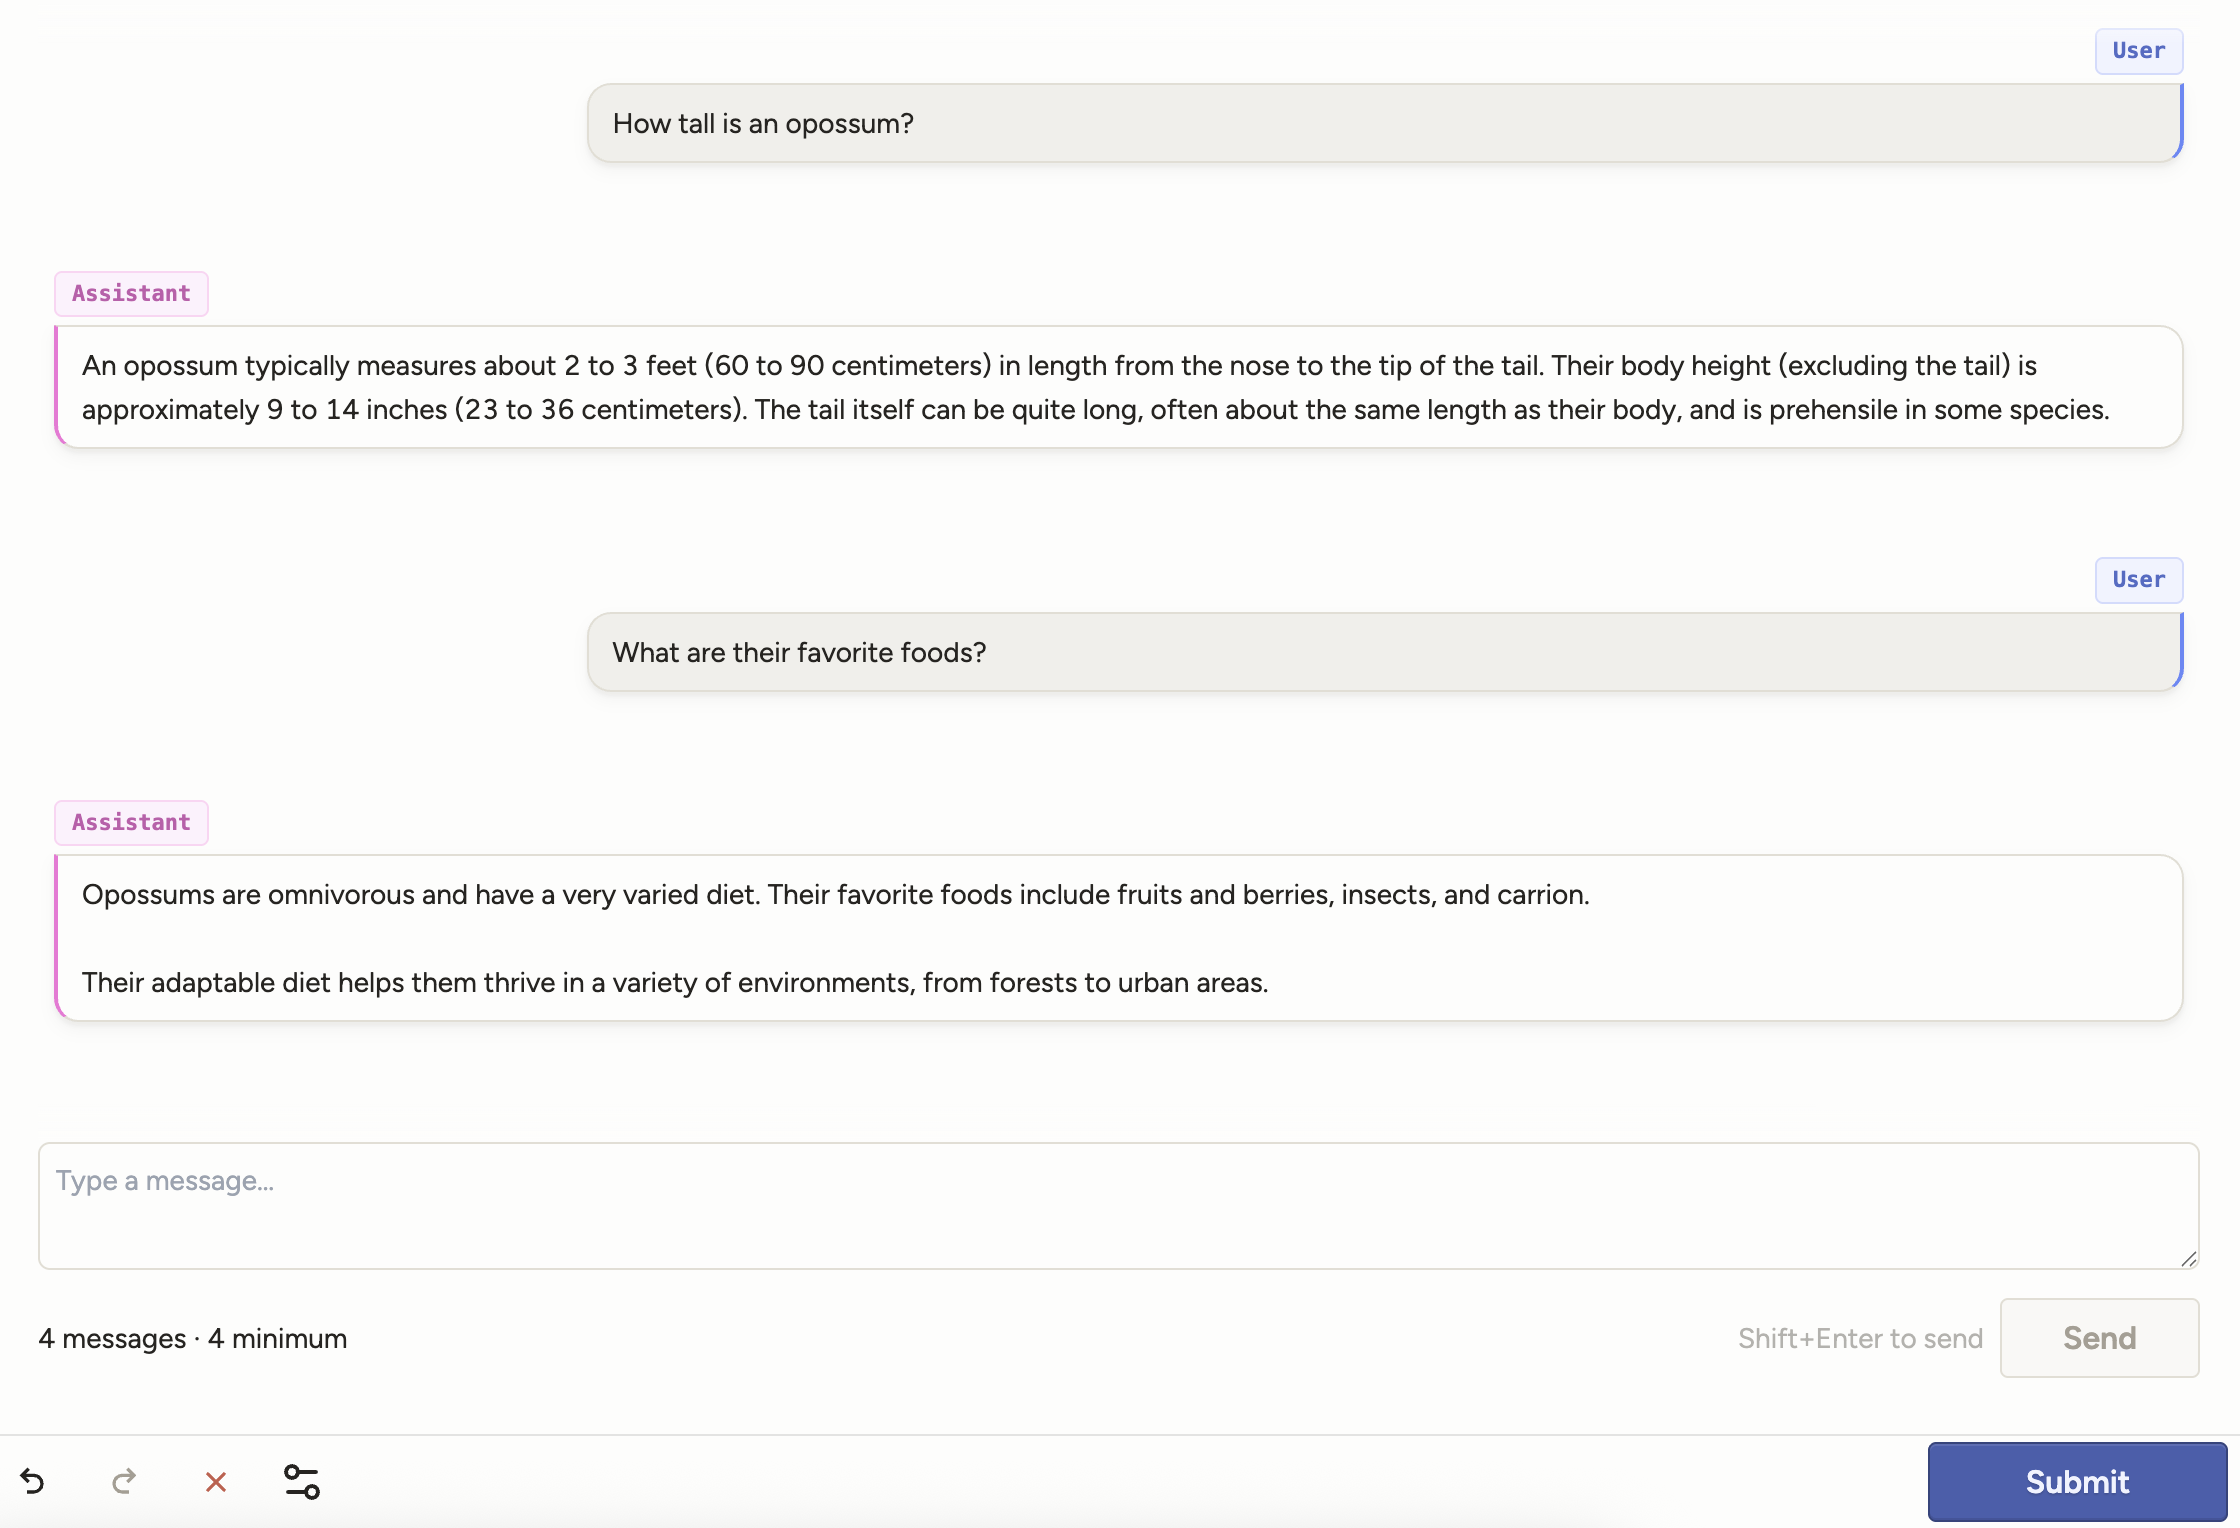
The Chat tag displays a conversational transcript and lets annotators extend it by adding new messages:
Use with the following data types: JSON array of message objects
Enterprise
This tag is only available for Label Studio Enterprise and Starter Cloud users.
Use with an LLM
Optionally, the tag can send requests to an LLM and then post the replies.
To use an LLM, you need to do two things:
Add a model provider API key to your organization. See Model provider API keys for organizations.
Once you have added an API key for a model provider, set the
llmattribute on the<Chat>tag to the model you want to use.The
llmattribute must use the format<provider>/<model>. For example,llm="openai/gpt-5".
note
Starter Cloud users have limited access to the LLM feature for chats.
In Starter Cloud, you cannot add model providers. However, you will have access to out-of-the-box OpenAI models with $5.00 in credits for testing. If you want to add your own models and use interactive chats more extensively, you can upgrade to Enterprise.
Editable messages
You can allow annotators to edit chat messages, including responses from the LLM.
Set the editable parameter to "true" or to a list of roles that should be editable (for example, “editable="user,system").
To edit a message, hover over it to view the edit icon.
Annotators cannot edit messages from the imported task data.

Role-based evaluation
You can show options only when a message from a specific role is selected.
To do this, wrap the controls in a <View> block and set the visibleWhen and whenRole parameters. This ensures the controls only appear when the annotator selects a message from that role.
For example, the annotator will only see the following choices when they select a message from the user role:
<View visibleWhen="region-selected" whenRole="user">
  <Choices name="choices" toName="chat" perRegion="true">
    <Choice value="User choice 1"/>
    <Choice value="User choice 2"/>
  </Choices>
</View>
Parameters
| Param | Type | Description |
|---|---|---|
| name | string |
Name of the element |
| value | string |
Data field containing an array of chat messages or empty array |
| [messageroles] | string |
Comma-separated list of roles that the user can create and send messages on behalf of. Default is “user” if the llm parameter is set; default is “user,assistant” if not. |
| [editable] | boolean | string |
Whether messages are editable. Use true/false, or a comma-separated list of roles that are editable |
| [minmessages] | string | number |
Minimum total number of messages required to submit |
| [maxmessages] | string | number |
Maximum total number of messages allowed |
| [llm] | string |
Model used to enable automatic assistant replies, format: <provider>/<model> |
Examples
Example <Chat> tag
The following labeling configuration is the most basic implementation of the Chat tag. Adding a self-referencing toName parameter allows you to use it without any other control tags.
This labeling configuration would allow an annotator to submit messages from different roles that they select in a drop down message.
<View>
  <Chat name="chat" value="$chat" toName="chat" />
</View>
You can extend this configuration by allowing auto-replies from an LLM and adding control tags to evaluate the messages, as seen in the example below.
Example labeling config
Evaluate assistant responses:
<View>
  <Style>
    .htx-chat{flex-grow:1}
    .htx-chat-sidepanel{flex:300px 0 0;display:flex;flex-direction:column;border-left:2px solid #ccc;padding-left:16px}
  </Style>
  <View style="display:flex;width:100%;gap:1em">
    <Chat name="chat" value="$chat" llm="openai/gpt-4.1-nano" minMessages="4" maxMessages="10" editable="true" />
    <View className="htx-chat-sidepanel">
      <View style="position:sticky;top:14px">
        <!-- Invitation/explanation on how to evaluate -->
        <View visibleWhen="no-region-selected">
          <Text name="_3" value="Click on a message to rate specific parts of the conversation"/>
        </View>
        <!-- Evaluate assistant messages -->
        <View visibleWhen="region-selected" whenRole="assistant">
          <Text name="_1" value="Rate the response" />
          <Rating name="response_rating" toName="chat" perRegion="true" />
        </View>
      </View>
      <!-- Evaluate the whole conversation -->
      <View style="margin-top:auto;height:130px">
        <Header size="4">Overall quality of this conversation</Header>
        <Rating name="rating" toName="chat" />
      </View>
    </View>
  </View>
</View>
Example input data
Import JSON data
The example JSON input data below is called in the value="$chat" parameter.
role— speaker identifier; supported roles:user,assistant,system,tool,developercontent— message text
{
  "data": {
    "chat": [
        {
            "role": "user",
            "content": "Start with a kick-off message to validate the quality of it based on further conversation"
        },
        {
            "role": "assistant",
            "content": "A response from the LLM"
        }
    ]
  }
}
Privacy note
Messages that are part of imported data or predictions follow the same privacy rules as any other data you import, and are accessible via pre-signed URLs when using cloud storage. Messages added during the labeling process are treated as annotations. See our security documentation.
attention
The chat messages that you import are not selectable. This means that you cannot edit them or apply annotations (ratings, choices, etc) to them.
You can only select and annotate messages that are added to the chat by an annotator or that are imported as predictions.
To work with a blank chat and have your annotator add all messages, simply import:
{
  "data": {
    "chat": []
  }
}
Prediction format
Because users cannot select or evaluate chat messages that are imported as data, you can use predictions when you want to allow users to evaluate conversations that have been generated elsewhere.
note
You should include a timestamp field (createdAt) in milliseconds. This ensures your messages maintain the correct order when you modify them (edit them, resend them, etc.)
See the following example:
[
  {
    "data": {
      "chat": [
        {
          "text": "Review the conversation in detail. As you read through it, click on individual messages to provide feedback about accuracy, clarity, and intent."
        }
      ]
    },
    "predictions": [
      {
        "model_version": "demo-model",
        "result": [
          {
            "type": "chatmessage",
            "value": {
              "chatmessage": {
                "role": "user",
                "content": "I'm onboarding a new annotator. What are the first steps to ensure quality and speed?",
                "createdAt": 1757612212681
              }
            },
            "to_name": "chat",
            "from_name": "chat"
          },
          {
            "type": "chatmessage",
            "value": {
              "chatmessage": {
                "role": "assistant",
                "content": "Start by creating their account and assigning the Annotator role so permissions are scoped correctly. Add concise labeling instructions that appear before labeling. Use a small ground-truth set and require overlap (e.g., 2 annotators per task) with a reviewer to resolve disagreements. Enable comments so reviewers can leave precise, in-task feedback.",
                "createdAt": 1757612363718
              }
            },
            "to_name": "chat",
            "from_name": "chat"
          }
        ]
      }
    ]
  }
]