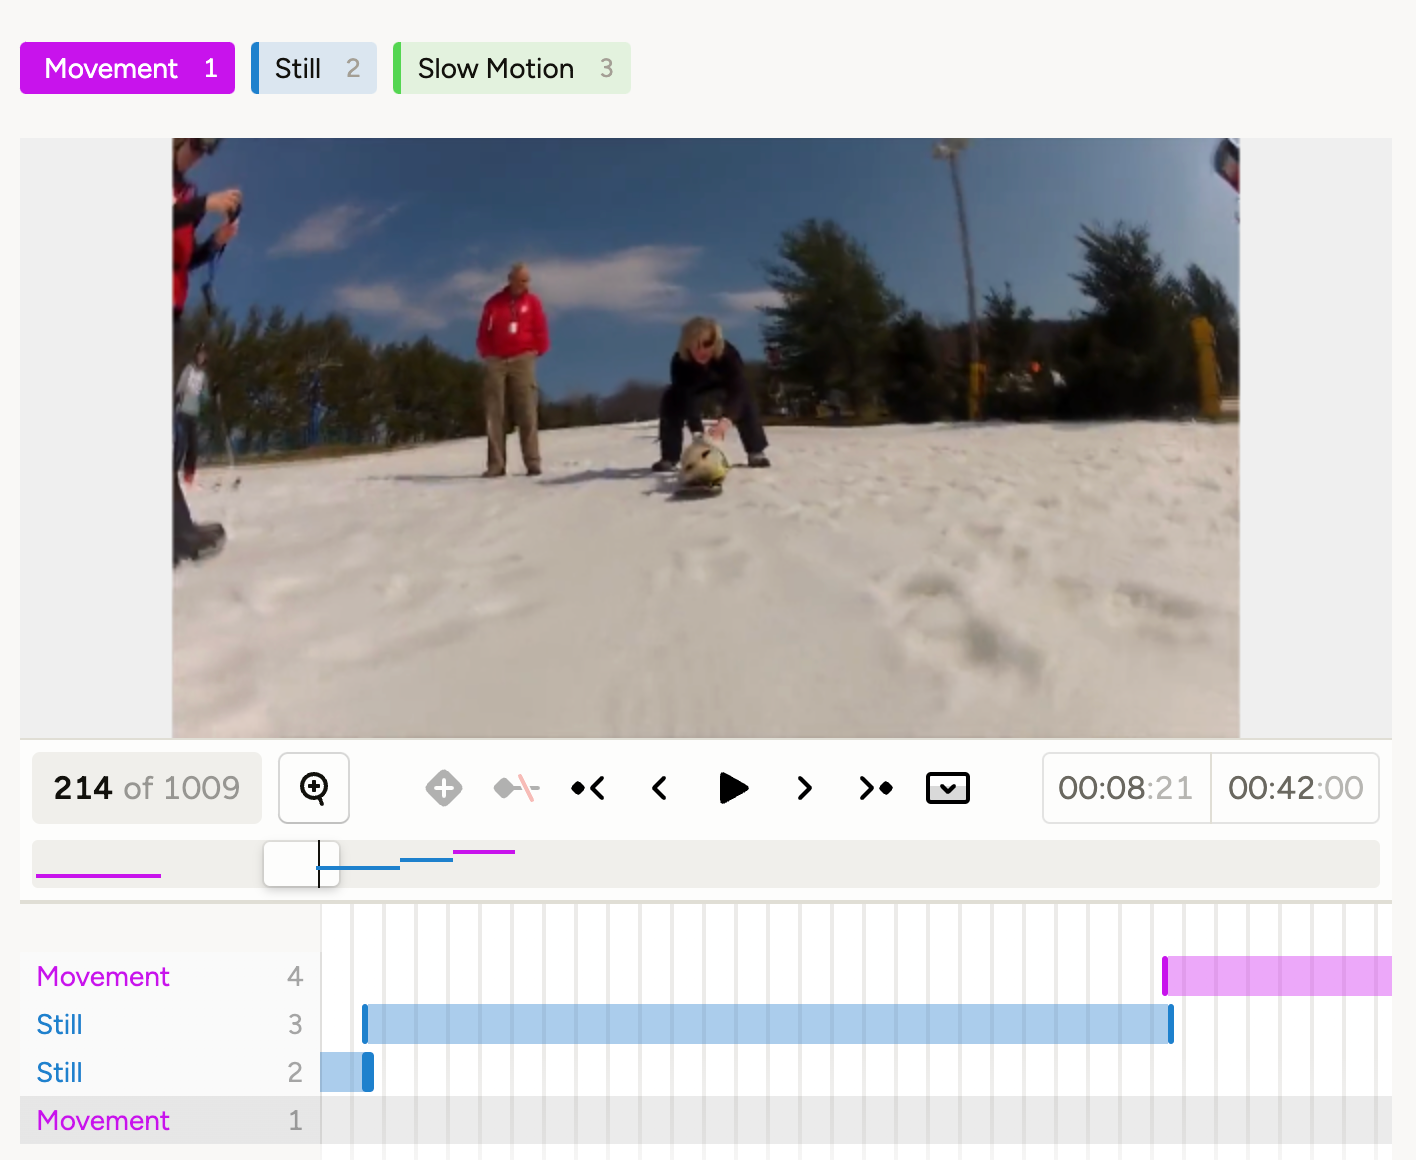
Video Frame Classification

Video frame classification is the process of assigning labels to individual frames within a video. This technique is useful when you need to analyze specific moments or events in a video, such as detecting actions, states, or changes over time, rather than classifying the entire video as a whole.
Labeling configuration
<View>
   <TimelineLabels name="videoLabels" toName="video">
     <Label value="Movement" background="#c813ec"/>
     <Label value="Still" background="#1d81cd"/>
     <Label value="Slow Motion" background="#54d651"/>
   </TimelineLabels>
   <Video name="video" value="$video" frameRate="25.0" timelineHeight="120" />
</View>
About the labeling configuration
All labeling configurations must be wrapped in <View> tags.
Video object tag
Use the <Video> object tag to specify the video data.
- The
frameRateparameter sets the frame rate of the video. Ensure this matches the video’s framerate. If your video has defects or variable framerate, it might cause discrepancies. Transcoding the video to a constant framerate before uploading can help. - Use
timelineHeightto control the height of your timeline where you are selecting frames.
For more parameters, see the Video tag page.
<Video name="video" value="$video" frameRate="25.0" timelineHeight="120"/>TimelineLabels control tag
Use the TimelineLabels control tag to define labels that can be applied to specific frames of the video.
Use Label tags within TimelineLabels to define the labels that you want to use.
<TimelineLabels name="videoLabels" toName="video">
     <Label value="Movement" background="#c813ec"/>
     <Label value="Still" background="#1d81cd"/>
     <Label value="Slow Motion" background="#54d651"/>
</TimelineLabels>
Input data format
Prepare your input data with the video field pointing to your video URL. If you want to test out a video, you can use a JSON file with the following example:
[
  {
    "video": "/static/samples/opossum_snow.mp4"
  }
]